Manage Workflows
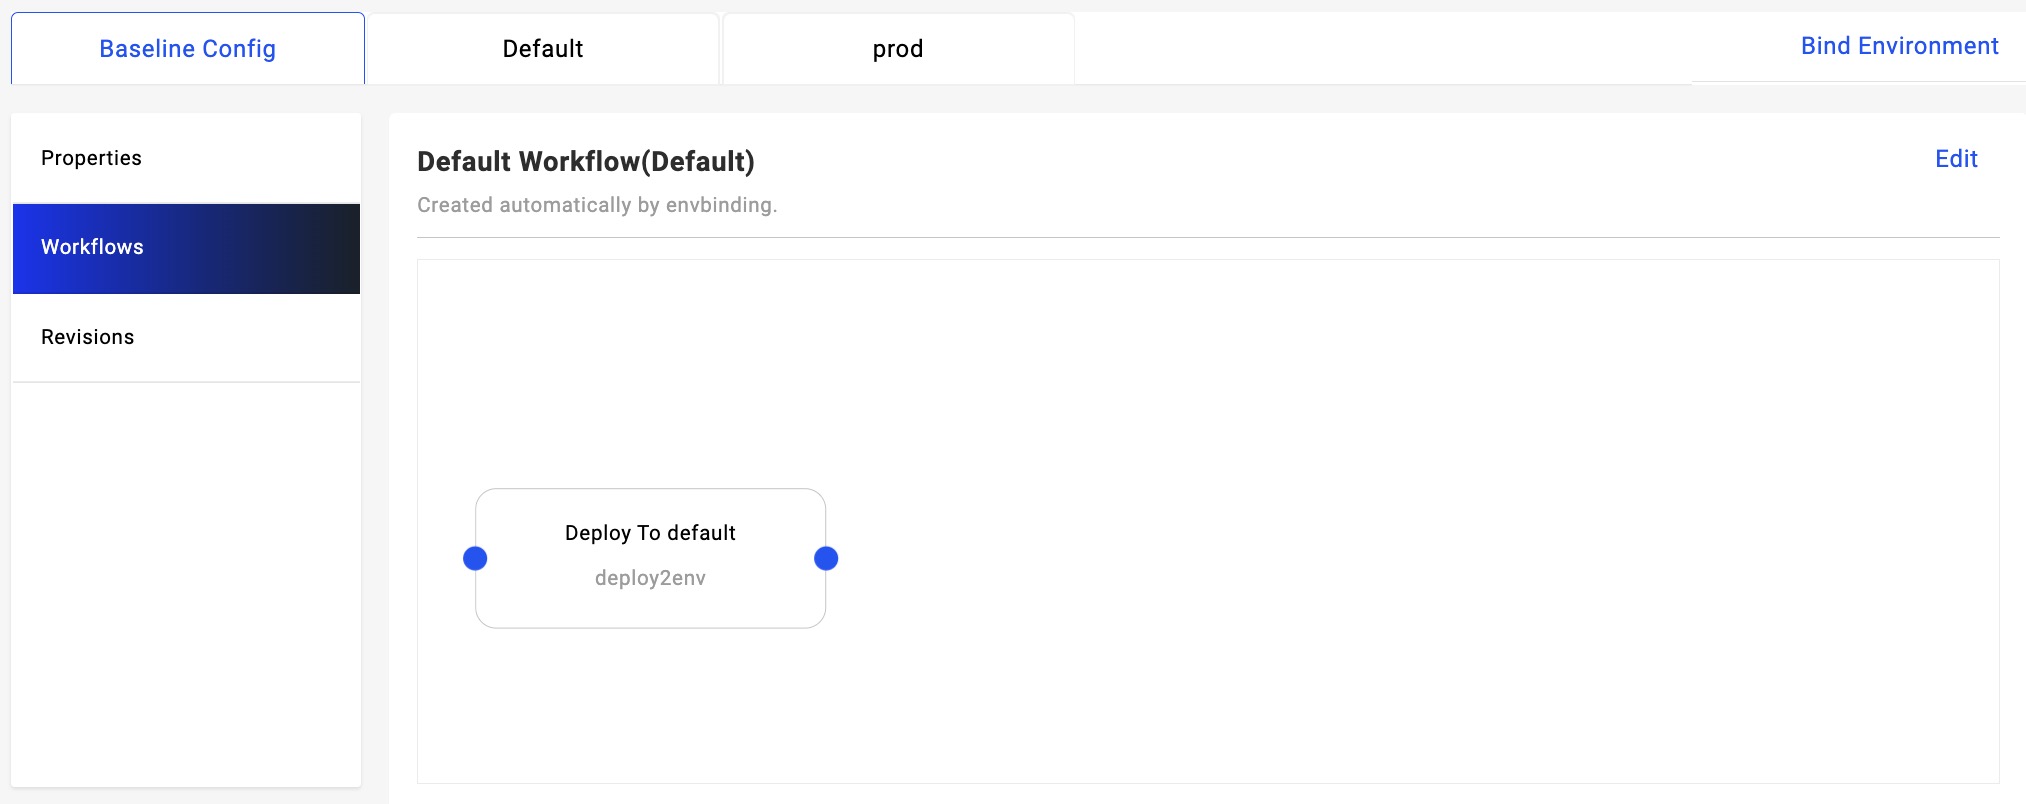
When an application is created, it is associated with an environment. Each environment is associated with a workflow for deployment. After a workflow is created, there is only one step by default. You can enter workflow editing mode by clicking the Edit button.
Edit workflow steps
Click the Edit button, in addition to modifying the name and description of the workflow, you can also add different types of workflow steps and orchestrate them. Here we have added a Notification step to send a notification when the deployment is complete.
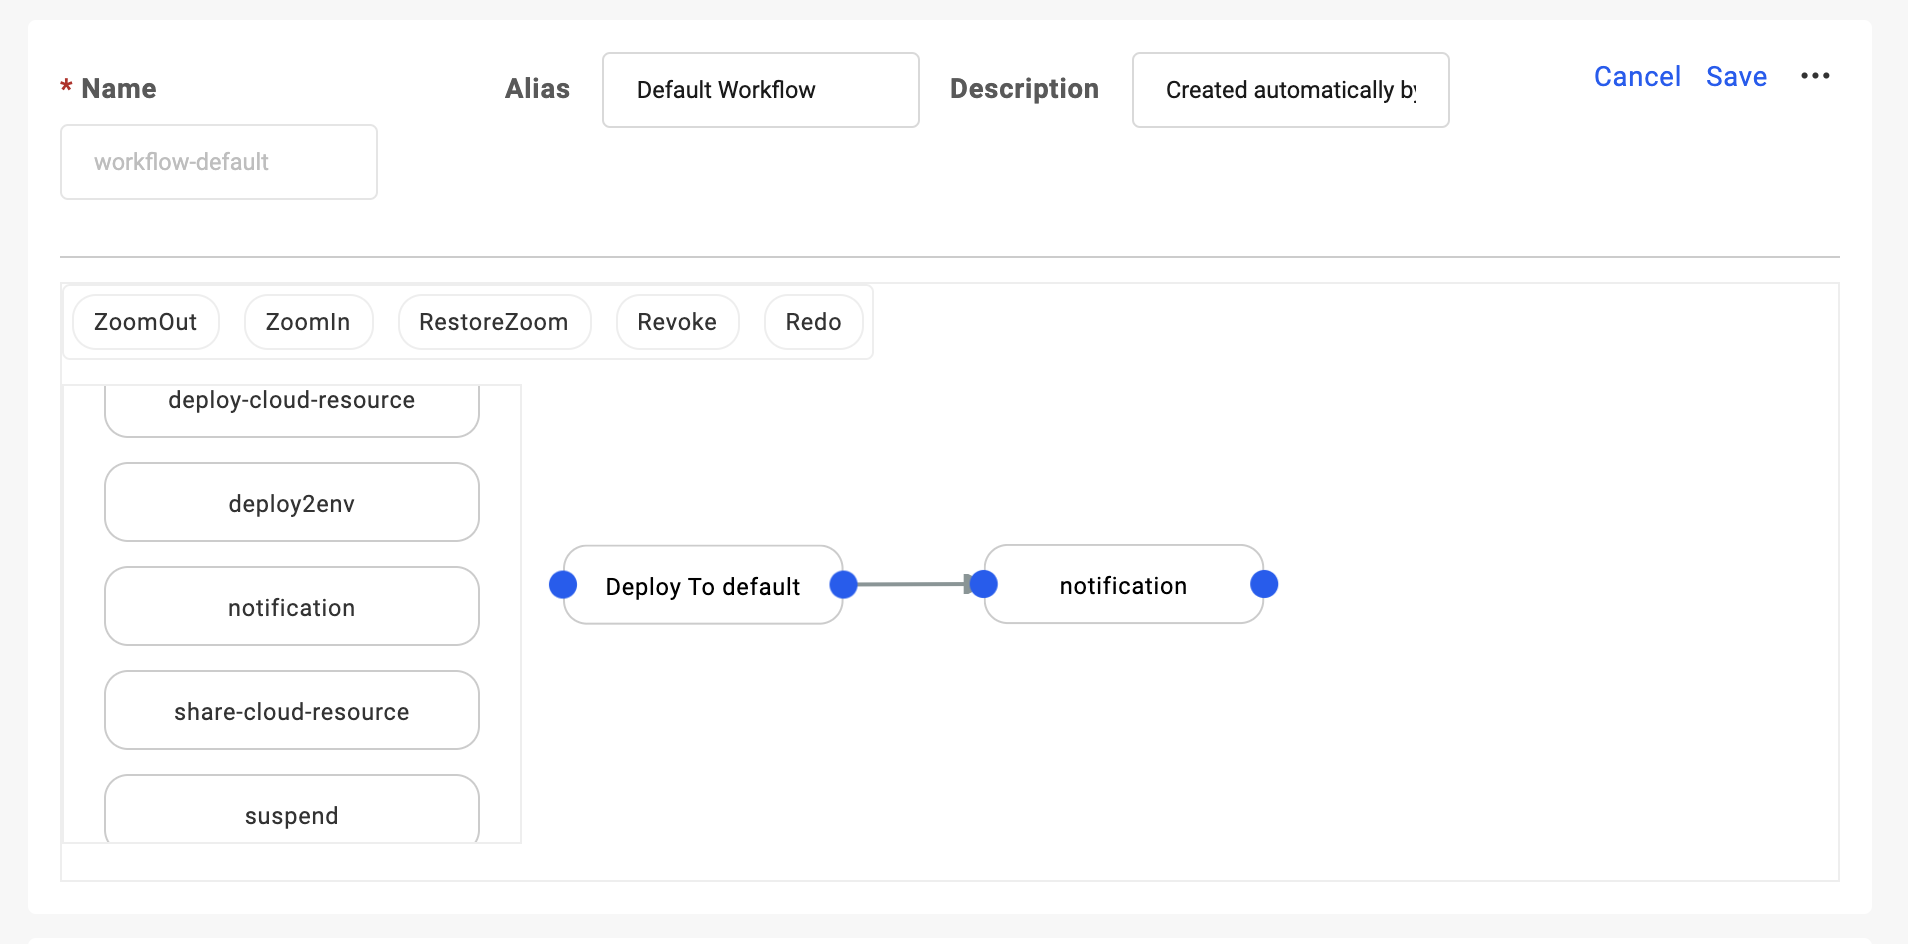
For more information of workflow steps, please refer to the built-in workflow steps page.
Create Workflow
Each environment is bound to one workflow, you can deploy a new workflow by binding a new environment.
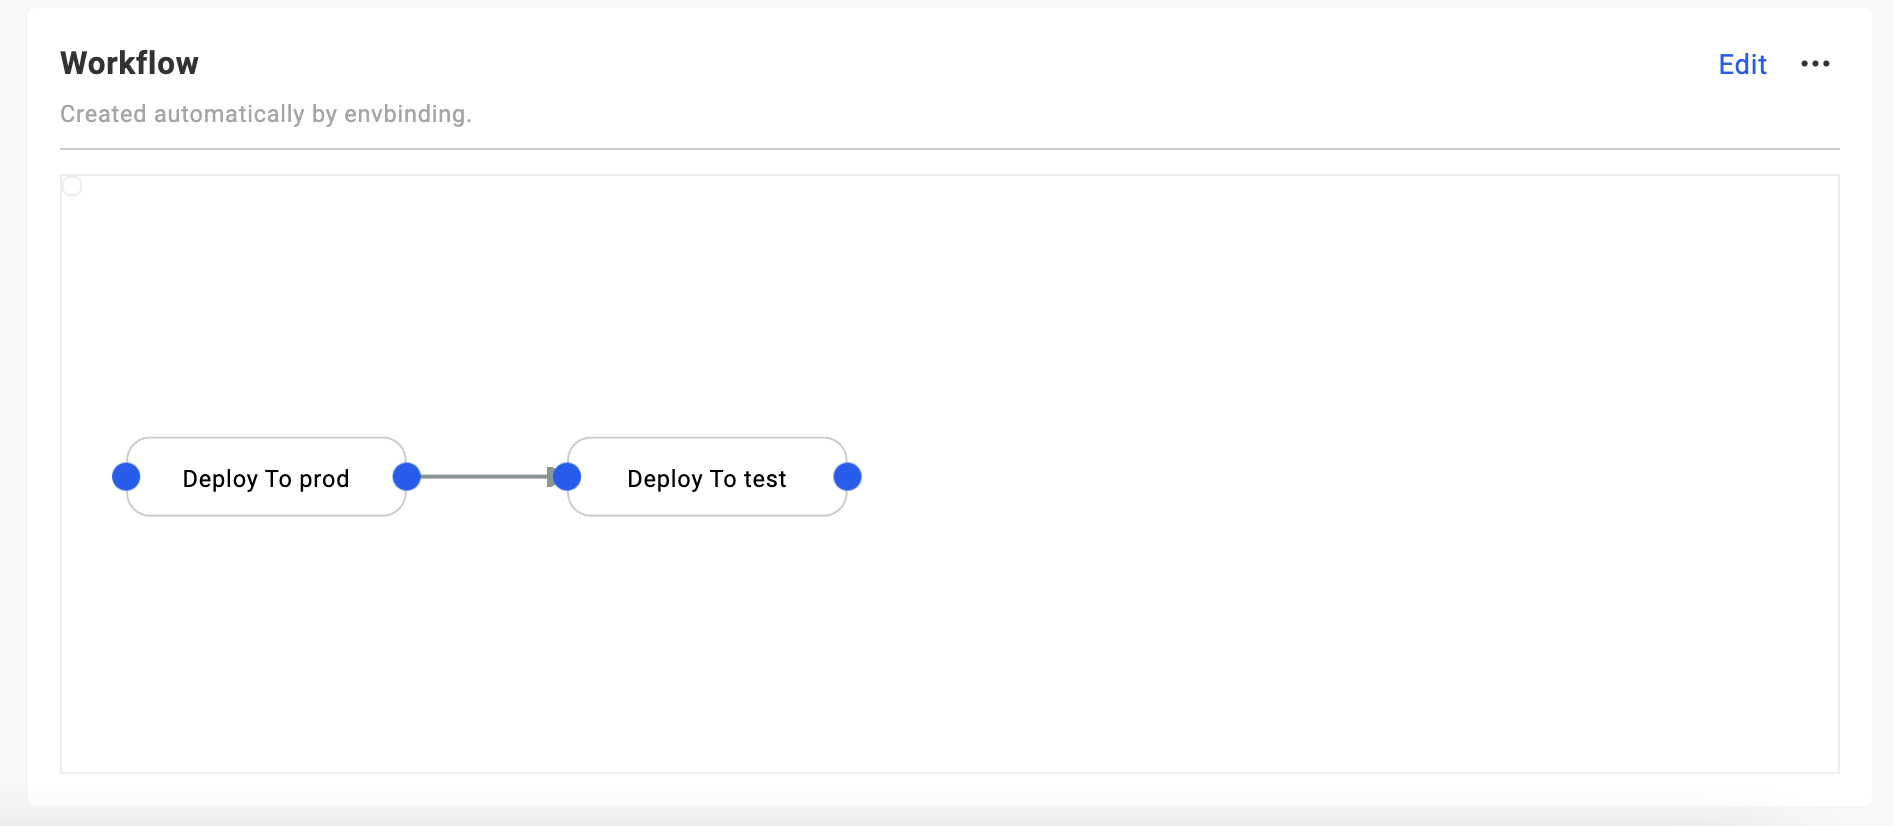
There can be multiple delivery targets in each environment, take an environment which contains a test delivery target and a prod delivery target as an example. After binding the environment for the application, you can see that a new workflow has been added: by default, there are two steps: one is Deploy to test, one is Deploy to prod.
Let's edit this workflow, add suspend between two steps:
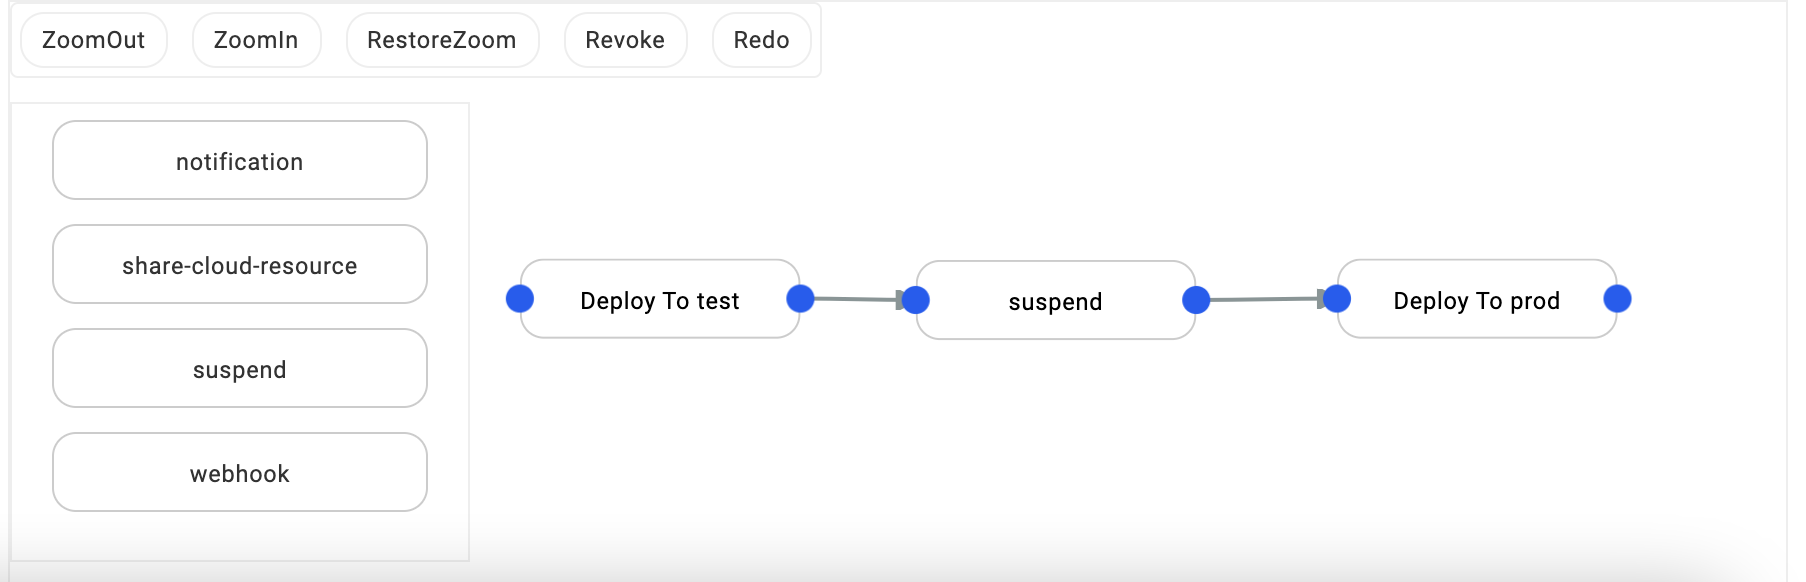
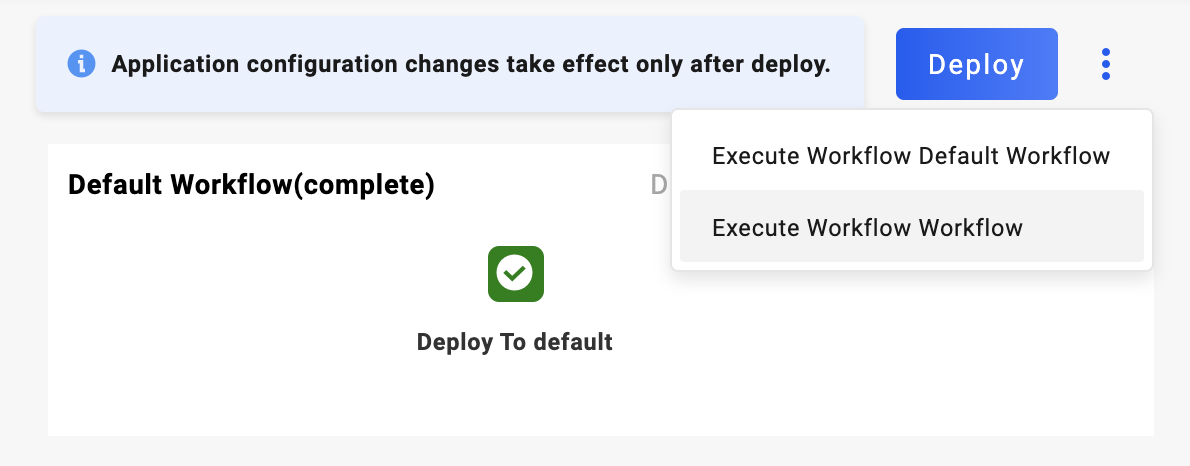
After modification, we choose this new workflow to deploy:
After deployment, when the resources in the test target are deployed, the work flow will be suspended. We can have some manual operations.
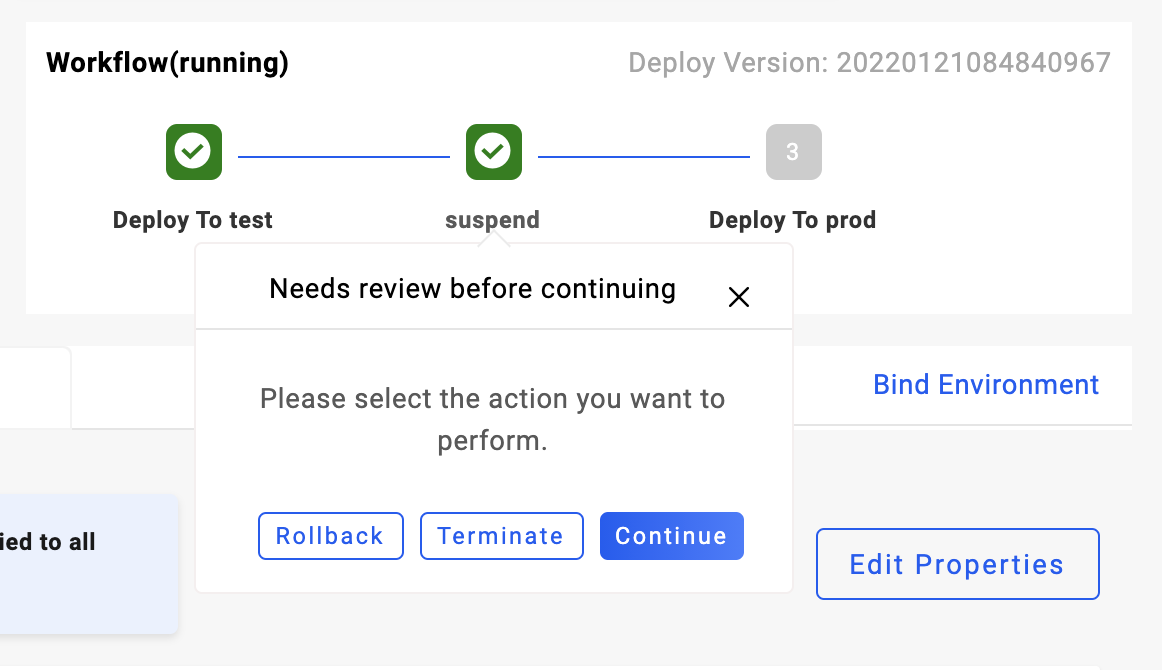
- Click
Rollback, the workflow will rollback to the latest succeeded revision and re-deploy. - Click
Terminate, the workflow will be terminated. - Click
Continue, the workflow will continue to execute.